Accessing the EPAF
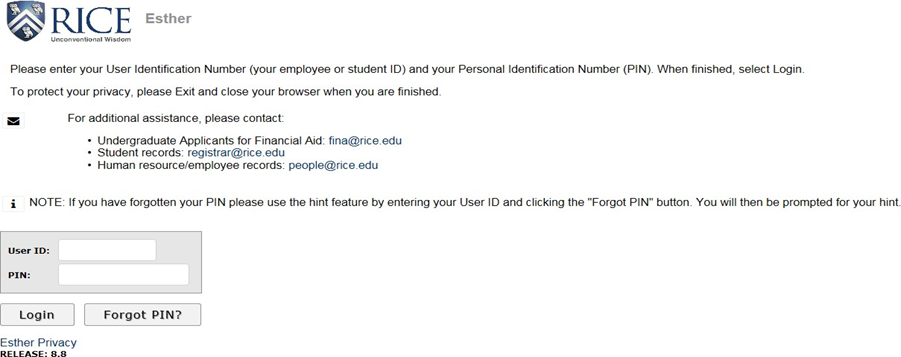
Log into ESTHER (https://esther.rice.edu/) using your Rice ID and password (PIN). Then, click Login.

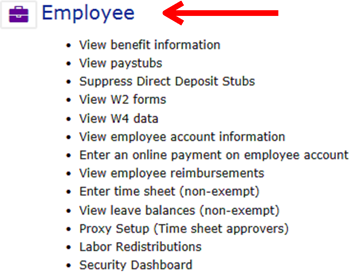
Click on the Employee link at the main menu.

Click on the Electronic Personnel Action Form (EPAF) link at the Employee menu.

Click on the New EPAF link.

Note: The Payroll Calendar for the current year is available for review by clicking on the Payroll Calendar link. In addition, there is EPAF documentation for Student Job Assignments and Labor Distributions available by clicking on the appropriate EPAF Documentation link.
Completing the EPAF
Enter the Banner ID (the E or the S is case-senstive) and must include all appropriate zeros. Then, press Enter (or Submit).

If the Banner ID is not known, click on the Magnifying Glass icon to search for an ID by name.

Enter the last name and/or first name; then, click on Go to retrieve a list. Click on the applicable ID number to select that individual.

Once the appropriate individual appears in the ID field, press Enter.

Select the Approval Category (Labor Distribution, LABOR) from the drop-down box. Once the approval category is selected, the current job assignments will appear.

The Query Date will default to the current date; however, this date (effective date of the labor distribution) can have a previous date as long as it is NOT on/before the Last Paid Date for the particular position. When the query date is changed to a different date, make sure to use the MM/DD/YYYY format to avoid errors.

Then, click Submit.
On the next screen, select the appropriate active position.

Then, click Submit.
Scroll down to the JOB LABOR section.


The effective date will default to the effective date of the Labor Distribution (from the first screen). This effective date is changeable (but for the labor distribution EPAF only) and can be a previous date as long as it is NOT on/before the Last Paid Date for the particular position. Make sure to use the MM/DD/YYYY format to avoid errors.
The current funding will default for the position. Make the appropriate changes to the funding.

- Enter a number 1 in the COA field for every funding line to avoid errors. This field is required for every funding source line.
- Delete rows and enter new funding in a blank line to populate the default program/activity codes.
- After the fund, org, and accounts are entered, click Default from Index to populate the program/activity codes.
- Make sure the total percent is 100.
- When funding lines need to be deleted, click on Save and Add New Rows for the Remove check box to appear. Then, check the Remove box for funding lines that need to be deleted.
After the changes have been made, click on Save and Add New Rows to save the changes. A confirmation will appear if there are no errors.

Scroll down to verify the changes to the funding.

Then, scroll down to the ROUTING QUEUE.
Enter the Banner ID for the individual who is to approve the EPAF in the departmental (20) queue or select the applicable Banner ID from list (by clicking on the magnifying glass). Confirm name appears in field next to the User Name field to avoid errors. Then, type the user names for the Research & Cost Accounting (40) and Payroll (85) queues or select approvers from the list (by clicking on the magnifying glass).

